Diagnostics
What your dashboard is actually telling you
Warning lights are a language, not an alarm. A practical guide to which symbols mean stop now, which mean book a visit, and which are simply the car asking to be listened to.
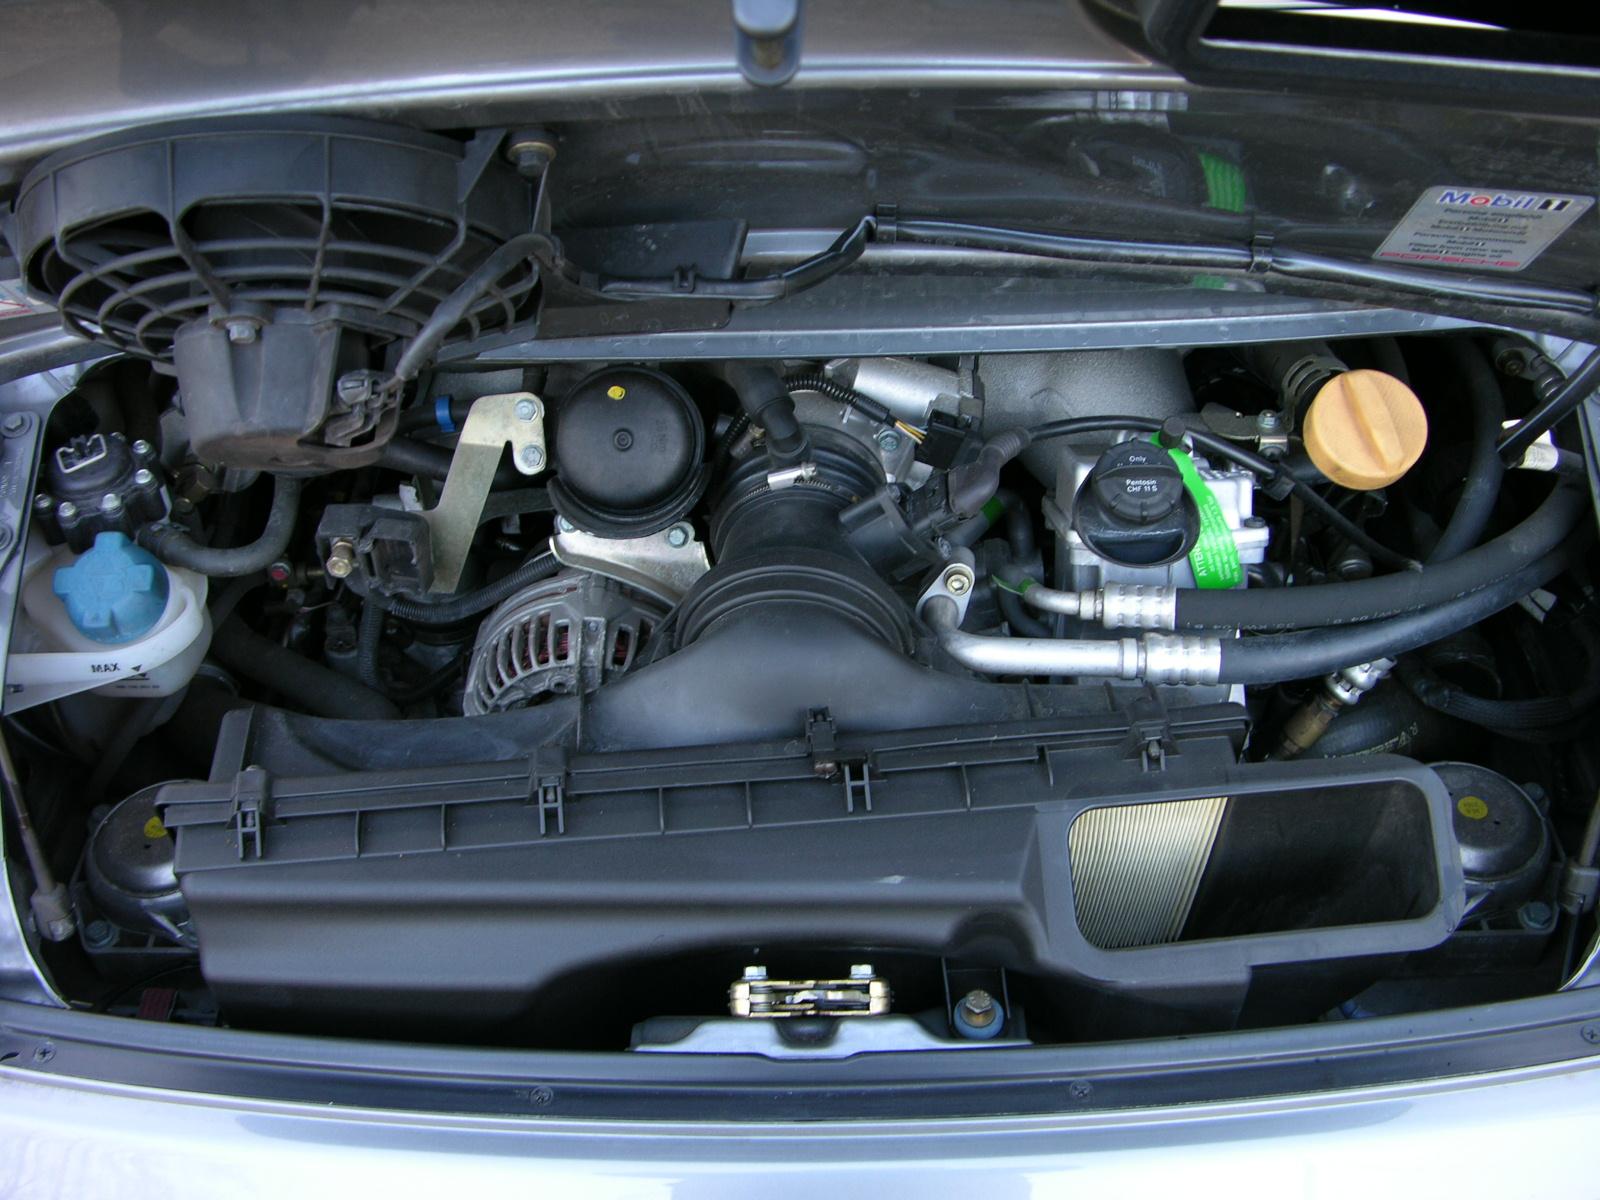
A modern premium car runs dozens of control modules that talk to each other continuously, and almost all of what they discuss never reaches the driver. The instrument cluster is a deliberately narrow window into that conversation, which is why a single amber symbol can mean anything from a loose fuel cap to a failing catalyst. Understanding the grammar of that window is one of the most useful things an owner can learn.
The most important distinction is colour, and it is more reliable than the symbol itself.
- Red means a condition that can damage the car or endanger you. The correct response is to stop safely and switch off, not to press on to the next town.
- Amber means a fault has been recorded and a function may be reduced. The car is usually drivable, but it is asking for attention within days rather than months.
- Green and blue are status indicators. They confirm something is switched on, and they are not faults.
A flashing amber light is a special case and deserves to be treated as red. Flashing generally signals a fault that is actively causing damage while the engine runs, most commonly misfire severe enough to overheat the catalytic converter.
The three red lights that mean stop
Oil pressure, coolant temperature, and charging system are the symbols that justify pulling over immediately. All three describe a loss of the conditions the engine needs to survive, and in each case the damage curve is measured in minutes.
The oil pressure warning is the least forgiving of the three. It does not indicate a low level, which is a separate message on most premium vehicles. It indicates that oil is no longer being delivered at pressure to the bearings, and an engine in that state can be destroyed before you reach the next junction. Switching off immediately is almost always cheaper than any alternative.
A coolant temperature warning gives you a little more room, but not much. Stop, switch off, and allow the engine to cool without opening the expansion tank. On a hot system, that cap is holding pressurised coolant well above the normal boiling point.
The charging system light means the alternator is no longer supporting the electrical system, and the car is now running on stored battery capacity. You may have twenty minutes, you may have five. On a vehicle with electric power steering and electronic braking assistance, losing that capacity while moving is not a situation to explore.
The amber lights owners misread most
The engine management light, still widely called the check engine light, is the most misunderstood symbol on the cluster. It reports that a monitored value has fallen outside its expected range, and it draws from several hundred possible causes. A steady engine management light on a car that drives normally is a booking, not an emergency.
Tyre pressure monitoring is the next most misread. Owners often top up the tyres, see the light stay on, and assume the sensor has failed. In most systems the monitor needs either a reset procedure or a short drive above a threshold speed to re-learn. It is also worth remembering that these systems report pressure, not condition; a tyre can be correctly inflated and still be unfit to drive.
Stability control and anti-lock symbols usually appear together, because both rely on the same wheel speed sensors. When both illuminate, a sensor or its wiring is the first place to look, and the brakes themselves are frequently fine. The car will still stop, but it will stop without electronic assistance, which changes how it behaves on a wet road.
What happens when the car reaches us
A stored code tells us where the car noticed a problem, not where the problem is. That distinction is the whole of diagnostic work. A code pointing at a lean mixture on one bank might be a failing sensor, an unmetered air leak, a fuel delivery limitation, or an exhaust leak upstream of the sensor, and the code reads identically in all four cases.
So we work outward from the code rather than acting on it. Live data is recorded while the car is running and, where appropriate, while it is driven. Fuel trims, sensor voltages, and load values are compared against what the engine should be doing under those exact conditions. Where a mechanical cause is suspected, we test it directly rather than inferring it, because replacing parts on the strength of a code is guesswork with an invoice attached.
Any workshop can read a code in ninety seconds. The value is in the hour afterwards, spent proving what the code actually means on this particular car.
The output an owner receives is deliberately plain: what the car reported, what we tested, what we found, and what we recommend, separated into work that is needed now and work that can reasonably wait. Nobody should have to approve repairs they do not understand.
Three habits worth keeping
- Photograph the cluster when a light appears. Intermittent faults are far easier to trace when we can see exactly which symbols were lit and what the gauges read.
- Note the conditions. Cold start, hard acceleration, long idle in traffic, or immediately after refuelling are all meaningful clues, and refuelling in particular points at a whole family of causes.
- Mention what changed. A recent battery replacement, a new set of tyres, or a jump start can explain a fault that would otherwise look serious.
A dashboard is not trying to alarm you. It is a summary written for a driver who has three seconds to read it, and like any summary it rewards a little familiarity with the source material.